Watch how to apply MasterSeal NP 100, a high performance, low modulus, high movement, non-sag, fast curing, and ready-to-use hybrid sealant (Video Transcript). Then learn more about the materials, tools and accessories required to do the job safely and efficiently.
MasterSeal NP 100 Sealant Application Video Transcript
- Ensure substrate is structurally sound, fully cured, dry and clean
- Use [MasterSeal P 173] primer as necessary
- If required, install the appropriate size backer rod for the joint
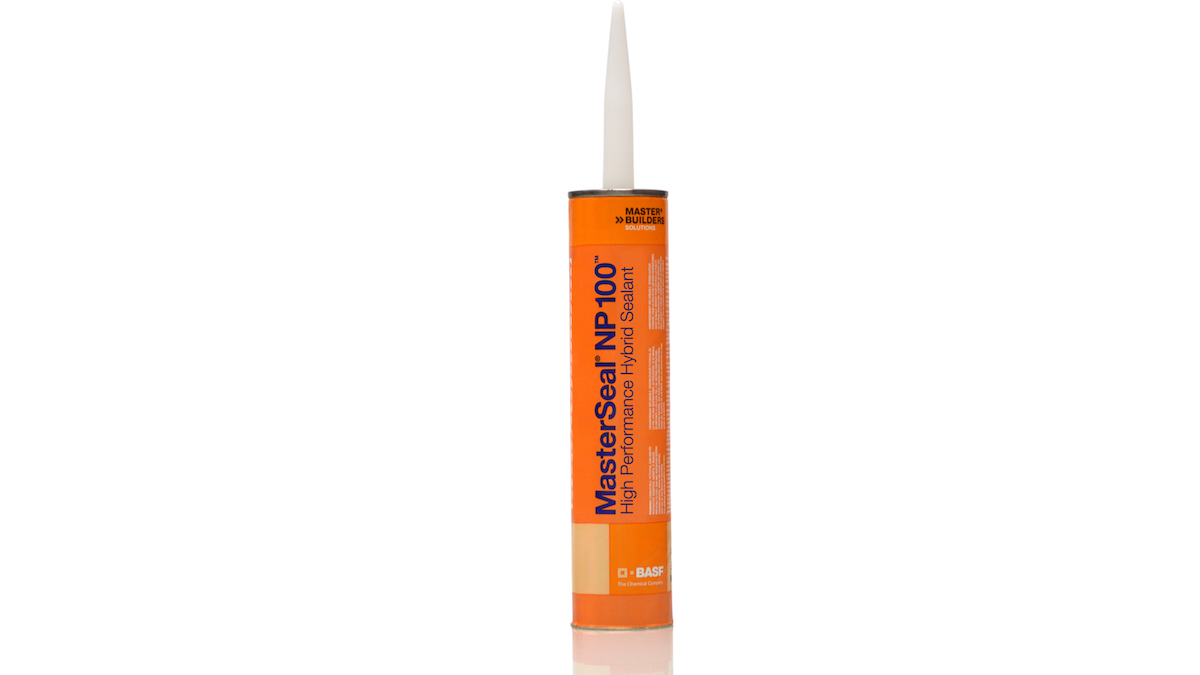
- When using 300 ml cartridges, cut tip of cartridge for desired width of the sealant bead
- Puncture foil using a sharp object
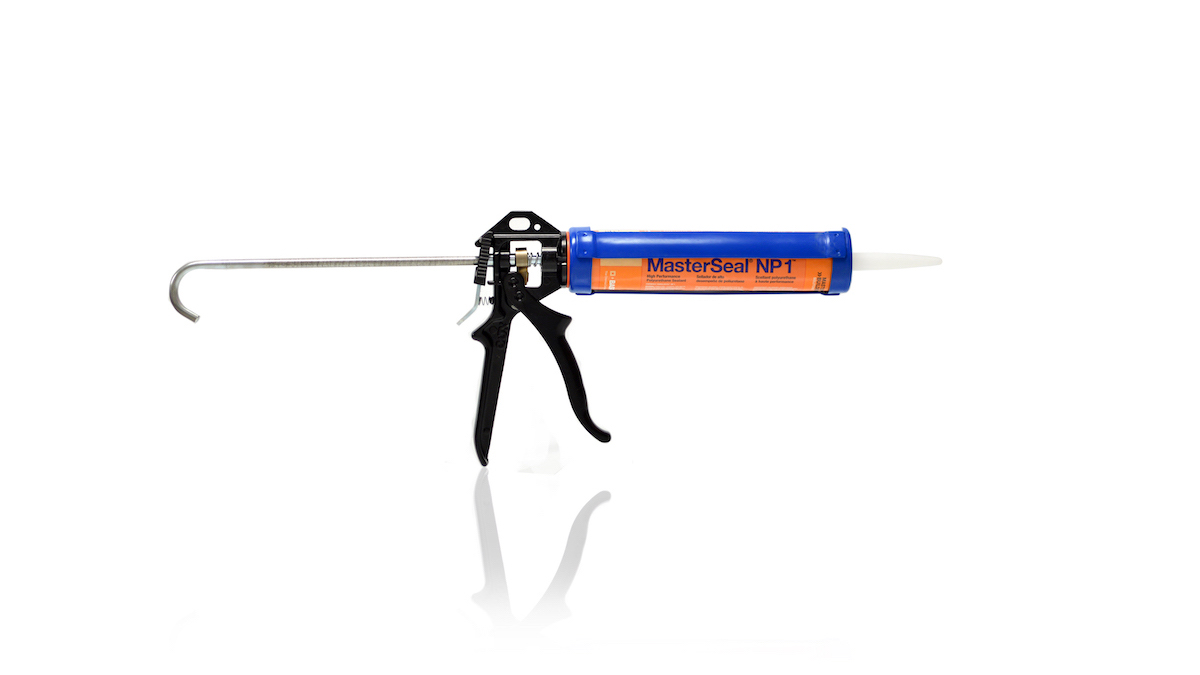
- Insert cartridge into caulking gun
- When using 20-ounce propaks, insert propak into a bulk caulking gun
- Open propak with a razor knife, then attach cone to the caulking gun
- Cut the cone slightly smaller than the width of the joint
- Fill joint from the deepest point, to the surface
- Dry tool joints to create a smooth, concave shape
- Refer to the MasterSeal NP 100 technical data guide for more information.
Sealant Application Materials, Tools and Accessories
Materials, Tools and Accessories – Shown
- Protective Gloves – 4-mil nitrile, disposable glove
- Protective Clothing – Long-sleeve sweatshirt
- MasterSeal P 173 Primer – Quick drying, solvent-based primer for priming joints and substrates
- Brush
- Backer Rod – Closed-cell, polyethylene foam, joint filler
- Wooden Rod, Tapered – Used to press the backer rod completely into the joint
- MasterSeal NP 100 Sealant, 300 ml Cartridge Package – Preferred for smaller sealant applications
- Razor Knife
- Caulking Gun – Manual Cartridge Gun
- MasterSeal NP 100 Sealant, 20-Ounce ProPak Package – Economical and efficient for larger sealant applications
- Bulk Caulking Gun – Manual Bulk Gun
- Bulk Caulking Gun Cone
- Caulk Spatula – Give a smooth, concave shape to the sealed joint.
Precautionary Accessories – Not Shown
Refer to the MasterSeal NP 100 Safety Data Sheet (SDS) for more information.
- Eye Protection
- Face Protection
- Respiratory Protection – In case of inadequate ventilation
- Tool Belt.
Citations
- Master® Builders Solutions – MasterSeal NP 100 Sealant – Product, Technical Data Guide and SDS
- Master Builders Solutions – MasterSeal P 173 Primer
- Atlas Supply – Master Builders Solutions
- Atlas Supply – How To Apply MasterSeal P 173 Primer Video
- Atlas Supply – Expansion Joint Systems, Joint Fillers
- Atlas Supply – Sealant & Adhesives
- Atlas Supply – Tapes, Tools and Accessories
- Atlas Supply – Sealant Glossary.