Watch how to use Albion’s B-Line Sausage Guns (Video Transcript). Then learn more about the materials, tools and accessories required to operate safely and efficiently.
How to use Albion’s B-Line Sausage Guns Video Transcript
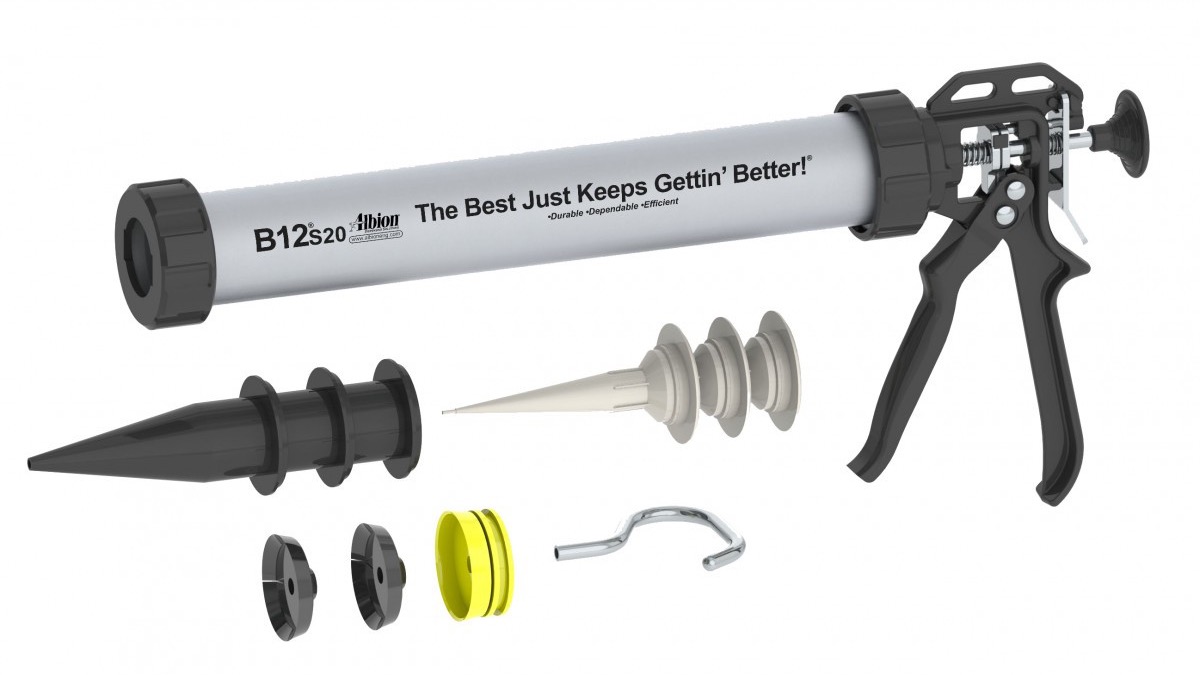
- B12S20 20oz Sausage Gun w/smooth and efficient 12:1 ratio drive
- Albion B-Line Sausage Guns come complete with 6 nozzles, spare sausage piston, steel ladder hook pull, and yellow bulk piston
- Cut nozzle tip to desired opening
- Unscrew front cap and pull back on rod
- Load sausage pack/Chub into barrel
- Clip front end of sausage pack
- Place front cap over nozzle and screw on barrel
- Ready to dispense
- For tooling joint, consider using 258 series spatulas
- Lightweight Aluminum Barrel
- Rotating Barrel
- Ladder Hook Pull
- Comfortable Full-Size Handle
- No Slip Double-Gripping Plates
- Wear Adjustment Screw
Albion B-Line Sausage Guns Materials, Tools and Accessories – Shown
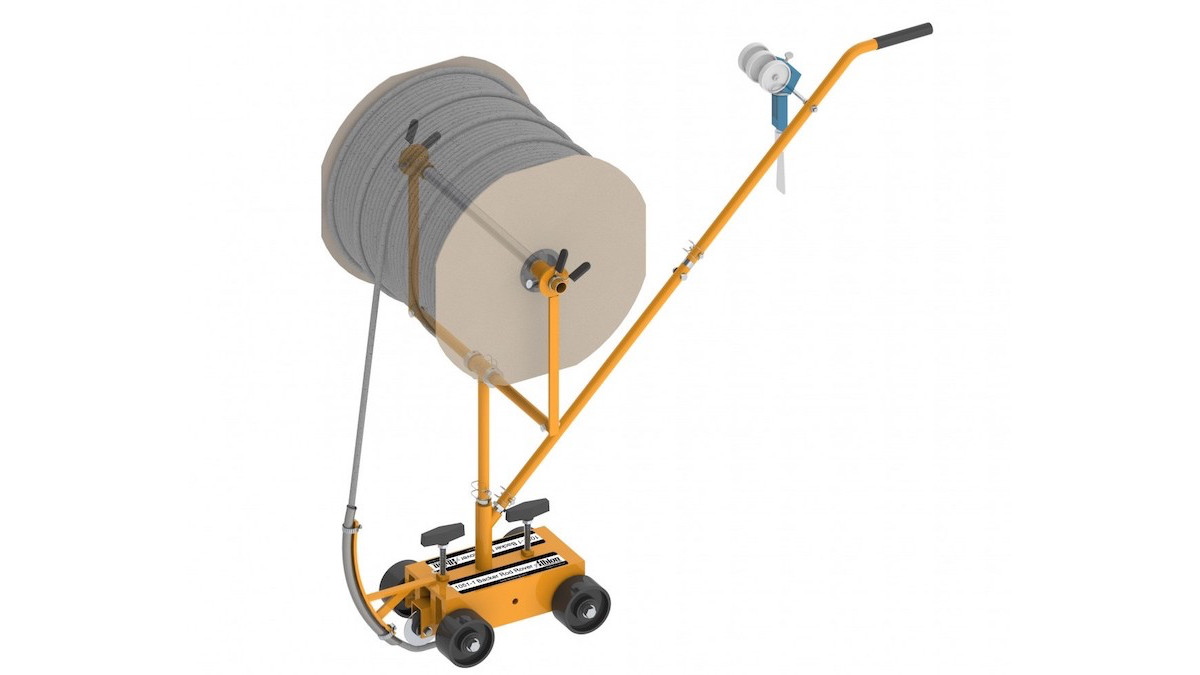
- Backer Rod – Closed-cell, polyethylene foam, joint filler, 1/8 to 1-inch diameter
- Razor Knife
- Albion Engineering B12S20 20oz Sausage Gun – with smooth and efficient 12:1 ratio drive
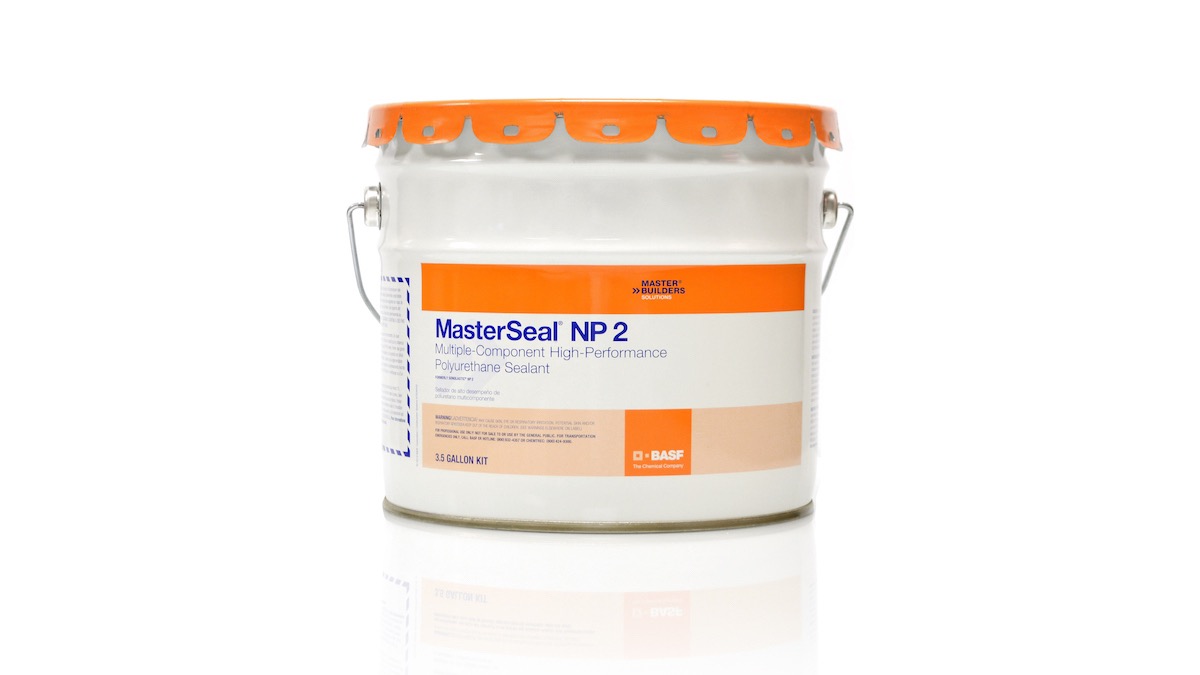
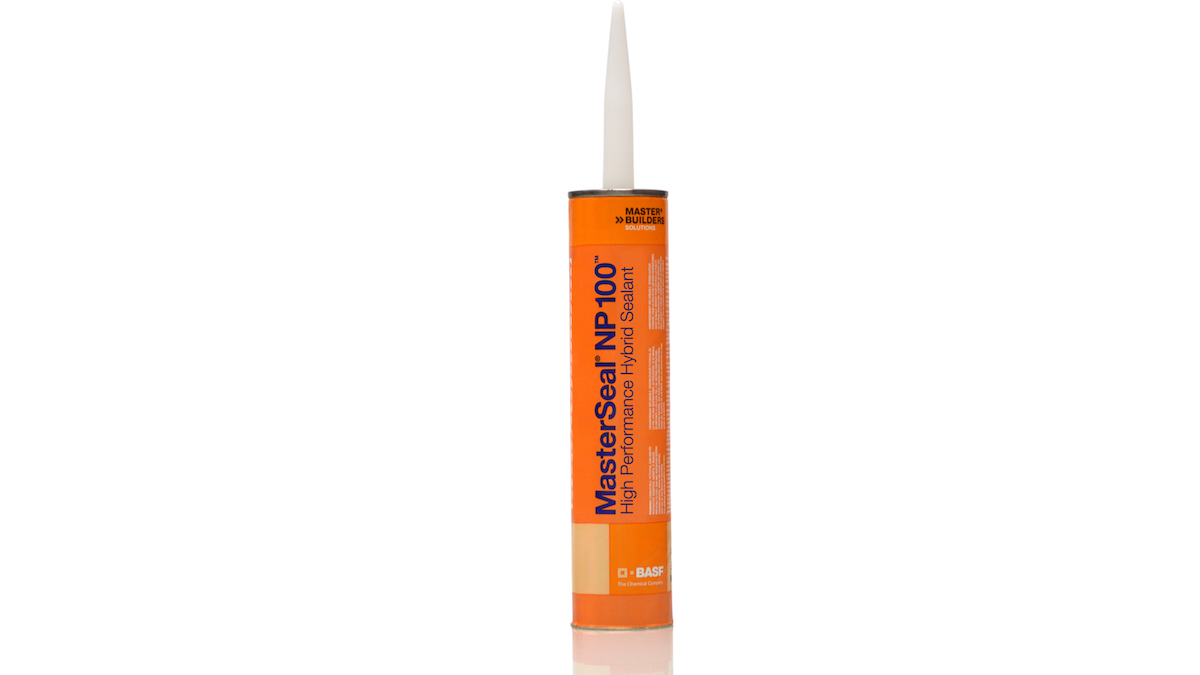
- Sausage pack of standard viscosity material – Expansion joint sealant
- Scissors
- Albion Engineering 258 Series Spatula.
Citations
- Albion Engineering – B12S20 20oz Sausage Gun
- Albion Engineering – 258 Series Spatula – 9-Piece Set
- Atlas Supply – Tapes, Tools and Accessories
- Atlas Supply – Expansion Joint Systems, Joint Fillers
- Atlas Supply – Sealant & Adhesives.