COVID-19 Update: How Atlas Supply, a Beacon company, is staying safe and continuing to serve our customers. Click to learn more...

How to Use Albion’s B-Line Sausage Guns

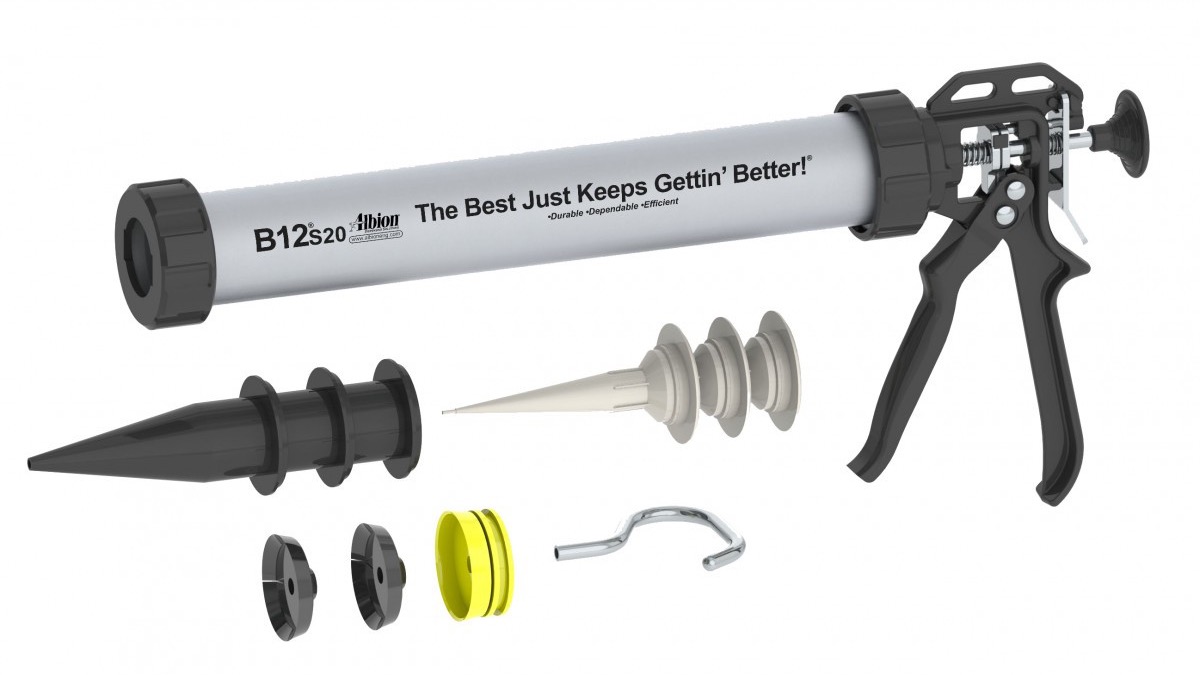
Albion Engineering B12S20 20oz Sausage Gun with Accessories

Watch how to use Albion’s B-Line Sausage Guns (Video Transcript). Then learn more about the materials, tools and accessories required to operate safely and efficiently.

How to use Albion’s B-Line Sausage Guns Video Transcript

  • B12S20 20oz Sausage Gun w/smooth and efficient 12:1 ratio drive
  • Albion B-Line Sausage Guns come complete with 6 nozzles, spare sausage piston, steel ladder hook pull, and yellow bulk piston
  • Cut nozzle tip to desired opening
  • Unscrew front cap and pull back on rod
  • Load sausage pack/Chub into barrel
  • Clip front end of sausage pack
  • Place front cap over nozzle and screw on barrel
  • Ready to dispense
  • For tooling joint, consider using 258 series spatulas
  • Lightweight Aluminum Barrel
  • Rotating Barrel
  • Ladder Hook Pull
  • Comfortable Full-Size Handle
  • No Slip Double-Gripping Plates
  • Wear Adjustment Screw

Albion B-Line Sausage Guns Materials, Tools and Accessories – Shown

  • Backer Rod – Closed-cell, polyethylene foam, joint filler, 1/8 to 1-inch diameter
  • Razor Knife
  • Albion Engineering B12S20 20oz Sausage Gun – with smooth and efficient 12:1 ratio drive
  • Sausage pack of standard viscosity material – Expansion joint sealant
  • Scissors
  • Albion Engineering 258 Series Spatula.

Citations


How To Apply MasterEmaco® T 1060 Repair Mortar

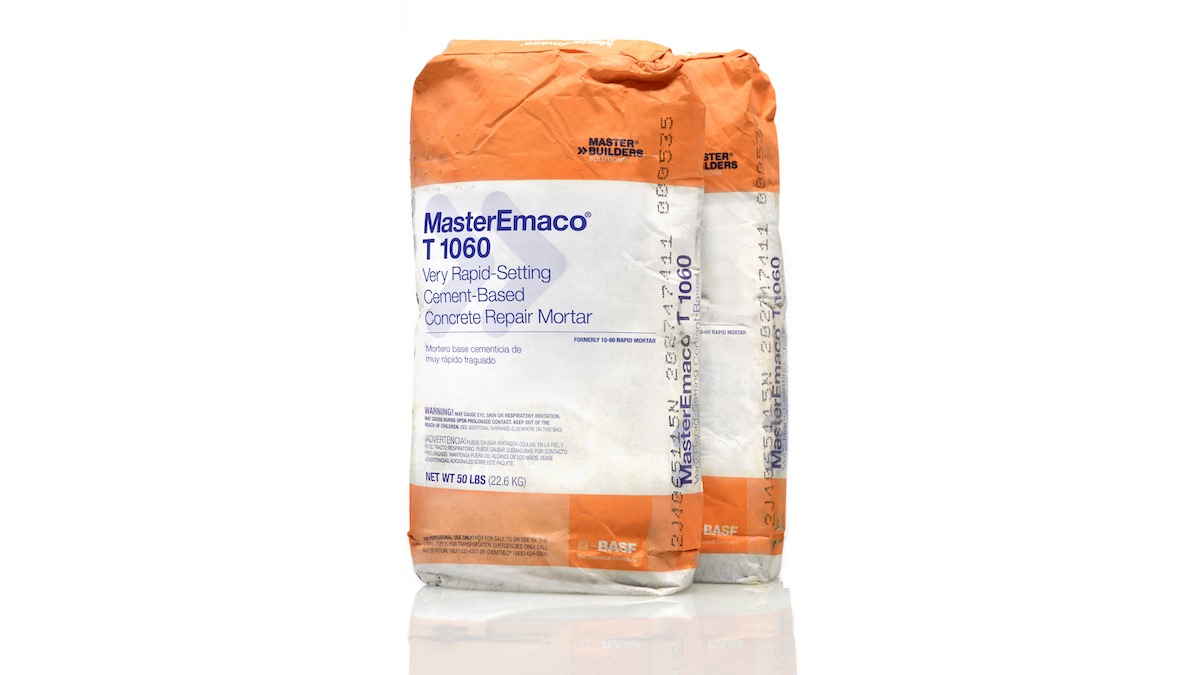
MasterEmaco T 1060 Cement-Based, Concrete Repair Mortar packaged in a 50 pound bag

Watch how to apply MasterEmaco T 1060 cement-based, concrete repair mortar (Video Transcript). Then learn more about the materials, tools and accessories required to do the job safely and efficiently.

MasterEmaco T 1060 Repair Mortar Application Video Transcript

  • Concrete must be structurally sound and fully cured. Surface should be prepared following current ICRI Guideline No. 310.2R surface preparation guide.
  • Surface to be repaired must be saturated-surface dry (SSD) with no standing water
  • Precondition material to 70 degrees Fahrenheit (21 degrees Celsius)
  • Add 5.5 pints (2.6 L) of potable water into a clean mixing container
  • Gradually sift in powder, 1/3 of the bag at a time, while mixing continuously at a slow speed
  • Mix for a minimum of 3 minutes to ensure a uniform, lump-free consistency
  • Using a stiff bristle broom, scrub a small quantity of mixed material into the SSD substrate
  • Work material firmly into the bottom and sides of patch. Avoid feather edging.
  • Placement time is approximately 5-10 minutes
  • Finish the completed repair as required
  • Cure with an approved curing compound that complies with ASTM C309 or ASTM C1315
  • Refer to the MasterEmaco T 1060 technical data guide for more information.

Repair Mortar Application Materials, Tools and Accessories

Materials, Tools and Accessories – Shown

  • Protective Gloves – 4-mil nitrile, disposable glove
  • Protective Clothing – Long-sleeve sweatshirt
  • MasterEmaco T 1060 Repair Mortar – Very rapid-setting, cement-based, concrete repair mortar
  • Mixing Container
  • Cordless Drill
  • Mixing Paddle
  • Stiff Bristle Broom
  • Beveled Hand Float
  • 2 inch x 4 inch Screed Board
  • Pool Trowel
  • Masonry Brush – 6 1/2 X 1 3/4
  • Concrete Curing Compound – ASTM C309 or ASTM C1315-compliant.

Precautionary Accessories – Not Shown

Refer to the MasterEmaco T 1060 Safety Data Sheet (SDS) for more information.

  • Eye Protection
  • Face Protection
  • Respiratory Protection – In case of inadequate ventilation.

Citations


How To Apply MasterEmaco® T 545 Repair Mortar

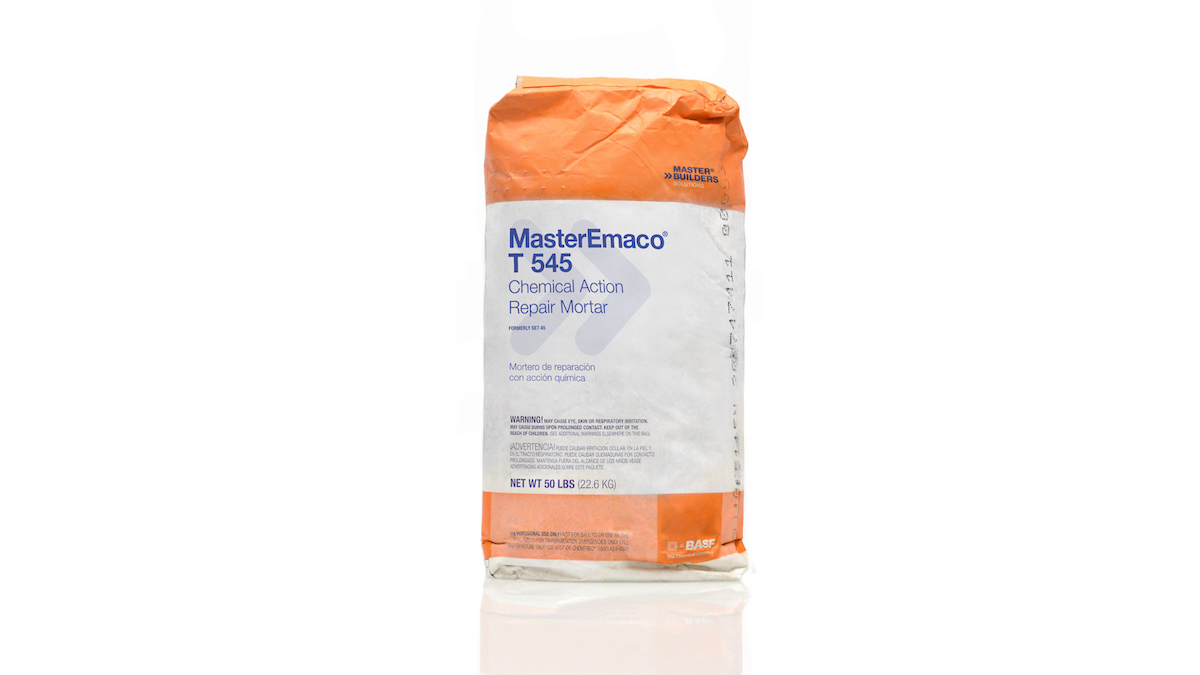
MasterEmaco T 545 Chemical Action Repair Mortar packaged in a 50 pound bag

Watch how to apply MasterEmaco T 545 chemical action repair mortar (Video Transcript). Then learn more about the materials, tools and accessories required to do the job safely and efficiently.

MasterEmaco T 545 Repair Mortar Application Video Transcript

  • Concrete must be structurally sound and fully cured. Surface should be prepared following current ICRI Guideline No. 310.2R surface preparation guide.
  • Add 4 pints (1.9 L) of potable water into a clean mixing container
  • Gradually sift in powder, 1/3 of the bag at a time, while mixing continuously at a slow speed
  • Mix material for 90 seconds to ensure a uniform, lump-free consistency
  • Work material firmly into the bottom and sides of patch. Avoid feather edging.
  • Placement time is approximately 5 minutes
  • Level MasterEmaco T 545 and screed to the elevation of surrounding concrete. Minimal finishing is required.
  • No curing is required. Protect from rain immediately after placing.
  • Refer to the MasterEmaco T 545 technical data guide for more information.

Repair Mortar Application Materials, Tools and Accessories

Materials, Tools and Accessories – Shown

  • Protective Gloves – 4-mil nitrile, disposable glove
  • Protective Clothing – Long-sleeve sweatshirt
  • MasterEmaco T 545 Repair Mortar – Very rapid-setting, chemical action, repair mortar
  • Mixing Container
  • Cordless Drill
  • Mixing Paddle
  • 2″ x 4″ Screed Board.

Precautionary Accessories – Not Shown

Refer to the MasterEmaco T 545 Safety Data Sheet (SDS) for more information.

  • Eye Protection
  • Face Protection
  • Respiratory Protection – In case of inadequate ventilation.

Citations


How To Apply MasterEmaco® P 124 Primer

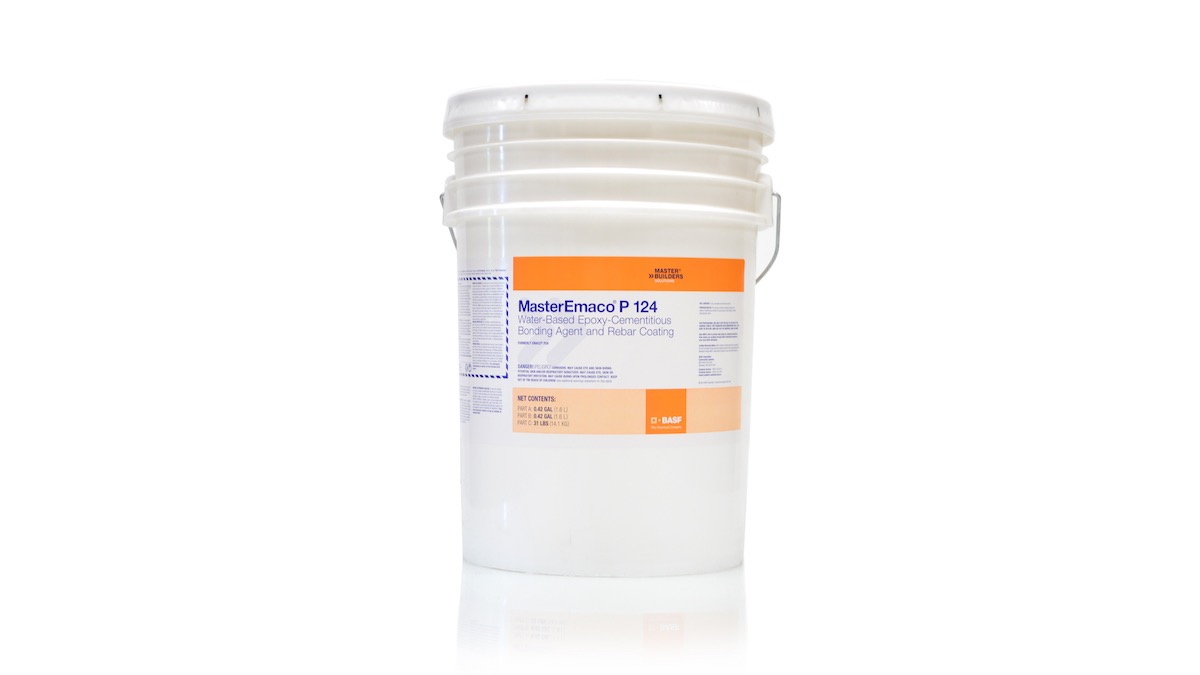
MasterEmaco P 124 Steel Reinforcement Primer & Bonding Agent, 6-gallon kit package
MasterEmaco P 124 Steel Reinforcement Primer & Bonding Agent packaged in a 6-gallon kit

Watch how to apply MasterEmaco P 124 steel reinforcement primer and bonding agent (Video Transcript). Then learn more about the materials, tools and accessories required to do the job safely and efficiently.

MasterEmaco P 124 Primer Application Video Transcript

  • Concrete must be structurally sound and fully cured
  • Remove all oxidation and scale from the exposed reinforcing steel in accordance with Technical Guide No. 310.1R
  • Surface to be repaired must be saturated-surface dry (SSD) prior to the application of MasterEmaco P124, when used as a bonding agent with ICRI Technical Guide No. 310.1R
  • Precondition all components to 70 degrees Fahrenheit (21 degrees Celsius)
  • Pour contents of Part A and Part B into a clean mixing bucket
  • Blend the components for 2 minutes
  • Slowly add all of Part C. Use the appropriate drill paddle to thoroughly mix the components.
  • Apply MasterEmaco P 124 using a stiff brush or broom
  • Work the bonding agent thoroughly into the substrate
  • When applying to rebar, two coats of 10 mils (0.25 mm) are required
  • Protect the bonding agent from direct sunlight and temperature above 95 degrees Fahrenheit (35 degrees Celsius)
  • Refer to the MasterEmaco P 124 technical data guide for more information.

Primer Application Materials, Tools and Accessories

Materials, Tools and Accessories – Shown

  • Protective Gloves – 4-mil nitrile, disposable glove
  • Protective Clothing – Long-sleeve sweatshirt
  • MasterEmaco P 124 Primer – Water-based epoxy-cementitious bonding agent, also used to coat and protect rebar
  • Cordless Drill
  • Paddle – Jiffy Mixer or similar
  • Drill Attachment/Brush
  • Brush.

Precautionary Accessories – Not Shown

Refer to the MasterEmaco P 124 Safety Data Sheet (SDS) for more information.

  • Eye Protection
  • Face Protection
  • Respiratory Protection – In case of inadequate ventilation.

Citations