COVID-19 Update: How Atlas Supply, a Beacon company, is staying safe and continuing to serve our customers. Click to learn more...

Cold Weather Silicone Sealant Application

Building Construction and Cold Weather Silicone Sealant Application

Architects, general contractors, and waterproofing contractors face a recurring question every Fall and Winter. Can we use our warm and hot weather silicone sealant for cold weather applications? Yes. Ease of installation, compatibility, and durability are key selection criteria.

It’s all about the chemistry. One-part silicone sealant use atmospheric moisture to assist the curing process. Cold weather decreases the availability of moisture in the air, thus extending sealant curing times. At the same time, cold weather increases the risk of adhesion failure, due to moisture or frost on the joint substrates. Clean, dry, and frost-free joints are one key to successful cold weather silicone sealant application. Ensuring sealant compatibility is another.

Randy McAdams, Senior Outside Sales, Atlas Supply

Cold Weather Sealant Application Glossary

  • Cold Weather Temperature: 5 ℉ above the dew point temperature, typically 40 ℉ or lower
  • Dew Point temperature: The temperature where air is unable to absorb any more moisture. Additional moisture falls as precipitation (rain, drizzle, fog) or condenses on cold surfaces (dew, frost), such as metal substrates.
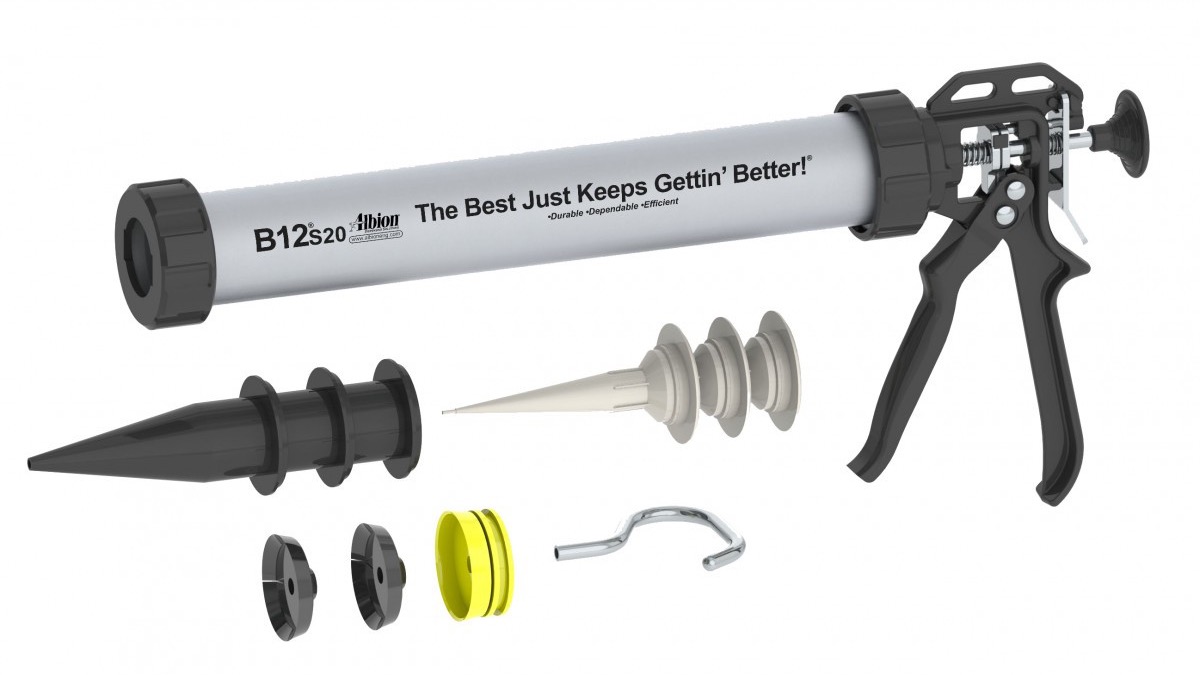
  • Gunnable: The ability to apply sealant using a caulking gun with normal effort
  • Tooling: The act of shaping sealant already applied in an expansion joint using a caulk spatula to apply pressure and ensure adequate fill of the entire joint width.
  • Cure Inhibition: The result when a chemical, substance or environmental condition inhibits a sealant’s ability to cure properly. Tooling aides such as solvents can contribute to cure inhibition.
  • Silicone Rubber: Any of a class of synthetic materials which are polymers with a chemical structure based on chains of alternate silicon and oxygen atoms, with organic groups attached to the silicon atoms.

Cold Weather Silicone Sealant

Silicone sealant is durable, easy to apply and tool, able to adhere to most surfaces, available in multiple colors. All DOWSIL™ Silicone Building Construction Sealant remain pliable and easy to extrude (gunnable) in temperatures as low as -20 ℉. DOWSIL has 9 sealant rated for cold weather application:

  1. DOWSIL 790 Silicone Building Sealant
  2. DOWSIL 791 Silicone Weatherproofing Sealant
  3. DOWSIL 795 Silicone Building Sealant
  4. DOWSIL 995 Silicone Structural Sealant
  5. DOWSIL 756 SMS Building Sealant
  6. DOWSIL 758 Silicone Weather Barrier Sealant
  7. DOWSIL Contractors Weatherproofing Sealant
  8. DOWSIL Contractors Concrete Sealant
  9. DOWSIL 1199 Silicone Glazing Sealant.

What is sealant compatibility?

Sealant compatibility classifies sealant as chemically suitable or unsuitable to come in contact with other types of construction materials. These products may include weather resistive barriers (WRB), self-adhered membranes (SAM‘s), liquid applied membranes (LAMs) and building cladding. Silicone sealant are fully compatible with other silicone products. Conversely, non-silicone sealant will not adhere to silicone products. We strongly recommended pre-construction adhesion testing of all substrate coming in contact with the specified sealant.

Cold Weather Silicone Sealant Selection

Whether you select silicone sealant depends on the type of project and the climate where you live. Product specifiers and contractors in Western Washington and Oregon seem to gravitate towards silicone sealant because of their ability to adhere to a wide variety of substrates. Silicone sealant , silicone coatings and silicone waterproofing are more common west of the Cascade Mountains, due to the wetter, milder climate.

The Yakima-Tri-Cities Metropolitan Area located in southeastern Washington is one place that prefers silicone sealant. DOWSIL Contractors Weatherproofing Sealant and Contractors Concrete Sealant are competitively priced while still rated for application down to -20 ℉. These two characteristics alone help to explain their popularity.

Sign of Trouble During Cold Weather Silicone Sealant Application

Unseen moisture or frost on the substrate is a typical sign of trouble during cold weather sealant application. Moisture or frost on both porous and non-porous substrates can affect long term adhesion of any type of sealant. It is imperative that you Follow Manufactures Instructions for proper joint preparation in cold weather applications.

Signs of Trouble After Cold Weather Silicone Sealant Application

Adhesion Failure, Movement During Cure, and Adhesive / Cohesive Failure are all signs of trouble after cold weather silicone sealant application.

Adhesion Failure

Adhesion failure can occur for a variety of reasons including improper joint preparation and tooling. Incorrect joint geometry and cure inhibition are also causes for concern.

Movement During Cure

Joint deformation can occur when sealant are applied to cold substrate. Rising temperatures and expanding substrate cause uncured sealant to lose adhesion, wrinkle, or bulge, instead of remaining concaved.

Adhesive / Cohesive Failure

Adhesive failure occurs when a sealant fails to adhere (stick) to the substrate. Causes include dirty, moist, or frosty joint surfaces. Cohesive failure occurs when the sealant splits or tears within itself.

Consult a Cold Weather Silicone Sealant Expert

Cold weather sealant application comes with its own set of challenges, including longer curing times, sealant/joint conditioning, and maximum joint widths. Consulting a cold weather sealant specialist or waterproofing consultant helps you to specify and apply the right sealant. Call your local Atlas Supply silicone sealant specialist today at 1-800-347-5767. Get the help you need to maximize your success and minimize the chance of sealant application/curing failures detailed above.

Citations

Randy McAdams, Senior Outside Sales, Atlas Supply

Randy McAdams, Senior Outside Sales, Atlas Supply
Randy specializes in selling waterproofing products throughout the Pacific Northwest for new construction, renovation and commercial repair projects.

Last Modified: July 15, 2021


How to Use Albion’s B-Line Sausage Guns

Albion Engineering B12S20 20oz Sausage Gun with Accessories

Watch how to use Albion’s B-Line Sausage Guns (Video Transcript). Then learn more about the materials, tools and accessories required to operate safely and efficiently.

How to use Albion’s B-Line Sausage Guns Video Transcript

  • B12S20 20oz Sausage Gun w/smooth and efficient 12:1 ratio drive
  • Albion B-Line Sausage Guns come complete with 6 nozzles, spare sausage piston, steel ladder hook pull, and yellow bulk piston
  • Cut nozzle tip to desired opening
  • Unscrew front cap and pull back on rod
  • Load sausage pack/Chub into barrel
  • Clip front end of sausage pack
  • Place front cap over nozzle and screw on barrel
  • Ready to dispense
  • For tooling joint, consider using 258 series spatulas
  • Lightweight Aluminum Barrel
  • Rotating Barrel
  • Ladder Hook Pull
  • Comfortable Full-Size Handle
  • No Slip Double-Gripping Plates
  • Wear Adjustment Screw

Albion B-Line Sausage Guns Materials, Tools and Accessories – Shown

  • Backer Rod – Closed-cell, polyethylene foam, joint filler, 1/8 to 1-inch diameter
  • Razor Knife
  • Albion Engineering B12S20 20oz Sausage Gun – with smooth and efficient 12:1 ratio drive
  • Sausage pack of standard viscosity material – Expansion joint sealant
  • Scissors
  • Albion Engineering 258 Series Spatula.

Citations


DOWSIL™ DefendAir 200 Underlies Medallion Apartments Renovation

Architect's Rendering of Renovated Medallion Apartments, Southeast View
Figure 1: Architect’s Rendering of Renovated Medallion Apartments, Southeast View (Source: Holst Architecture)

DOWSIL DefendAir 200 Weather Resistive Barrier (WRB) underlies the Medallion Apartments’ exterior renovations. The apartment building is 6-stories high with 90-unit affordable residential homes, located in Portland’s "Alphabet" Historic District. The Historic Landmarks Commission designated the Medallion Apartments as a non-contributing residential development, because it was built in 1965, well after the historic period. Nonetheless, the building renovation project required Landmarks Commission approval, which concluded:

The proposed exterior alterations and site changes to this existing multi-dwelling development will increase the building’s compatibility with its surrounding historic district and improve and activate the surrounding pedestrian network. The proposed materials are of high quality and the careful details will contribute to the durability of the building.

City of Portland, Oregon – Historic Landmarks Commission

Increase the Medallion Apartments’ Compatibility with its Surrounding Historic District

Prior to its renovation, a failed, stucco Exterior Insulation and Finish Systems (EIFS) dominated the building’s architecture. The stucco EIFS and uninsulated concrete masonry unit (CMU) around each apartment’s entrance contrasted with surrounding Victorian and Federal-style homes.

After renovation, the building’s exterior will be a blend of sand colored, thin brick tile cladding, earth-colored EQUITONE facade panels on the stairwells and cedar plank-inspired fiber cement panels around each apartment’s entrance. The new variations in texture and color will help to soften the Medallion Apartments’ appearance, thus bringing it into harmony with its neighbors.

High Quality Materials Contribute to the Medallion Apartments’ Durability

The use of CMU to construct the Medallion Apartments significantly influenced its renovations.

First, CMU lacks the strength of modern, post-tensioned concrete construction able to support a heavy curtain wall. This limited the choice of brick cladding to lighter thin brick instead of heavier face brick.

Second, CMU is quite porous and requires a WRB to protect against water intrusion. The weather resistive barrier acts like a one-way street for moisture to travel. Water vapor may escape from the building’s interior via tiny holes in the barrier membrane. These same holes are too small for liquid water to penetrate the interior from the building’s exterior. The result is a drier, more comfortable residence, less prone to mold and mildew.

DOWSIL DefendAir 200 Benefits

The key benefits of applying DefendAir 200 include a water-based formula, ultraviolet (UV) stability, primerless adhesion:

  • Water-Based formula enabled easy cleanup of rollers and sprayers using tap water, without gray water retention and disposal, ideal on a space-constrained worksite
  • UV Stable composition allowed the barrier membrane to remain exposed to sunlight after its application, while construction proceeded elsewhere, thus eliminating weatherproofing as a scheduling bottleneck
  • Silicone formula ensured compatibility with DOWSIL 791 Silicone Weatherproofing Sealant
  • Liquid Applied having milkshake consistency using rollers or an airless paint sprayer (Graco® Sprayer or similar);
  • Primerless adhesion to clean CMU or CMU covered with thin-set mortar
  • Quick Turn-Around Time meaning the liquid dries in 2-4 hours and rainwater will run off, if it were to rain later in the day.

Architects are hungry to learn more about the benefits of the next generation of liquid applied air barriers. These benefits include easy water cleanup, indefinite UV stability, and high moisture vapor permeability. DOWSIL DefendAir 200 delivers all of these and more.

Lorne Andrusiak, DowSil-Specialist, Atlas Supply and AIA Continuing Education Provider

Project Challenge: Residual Cementitious Adhesive

Removal of the failed EIFS cladding revealed a unique challenge: residual cementitious adhesive used to glue polyisocyanurate (polyiso) insulation directly to the CMU walls. Mechanical removal of the adhesive proved unworkable, without damaging the CMU substrate. A layer of thin-set mortar proved to be the best solution to bring the CMU to plane and provide a primerless surface to receive the DefendAir 200 Air and Weather Barrier. Figure 2 shows a section of CMU with residual adhesive on the left, a strip of exposed thin-set mortar in the center and roller-applied DefendAir 200 on the right.

North Wall Showing CMU with Residual Adhesive, Thin-Set Mortar and DefendAir 200
Figure 2: North Wall Showing CMU with Residual Adhesive, Thin-Set Mortar and DefendAir 200

Thin Brick Veneer Curtain Wall Details

The thin brick veneer curtain walls are the dominant visible feature of the renovated Medallion Apartments building and include a hidden, careful detail: a moisture drainage plane missing from the failed EIFS. This drainage plane allows intermittent moisture to escape from behind the curtain wall and drain away via a horizontal opening at the bottom of the wall assembly. Figure 3 shows a cross section schematic of the complete wall assembly comprising the following components:

  • CMU Wall
  • Thin-Set Mortar to smooth up to plane (when required)
  • DOWSIL DefendAir 200 Air and Weather Barrier (WRB)
  • RockWool™ insulation mounted on posts and secured with pins
  • Metal furring strips or hat channel used to create an open-air space (drainage plane)
  • WonderBoard® Lite Backerboard with integrated waterproofing
  • Thin-Set Mortar
  • Mutual Materials Slimbrick® Thin Brick Tiles
  • Masonry Pointing Mortar
  • Horizontal Metal Flashing.
Thin Brick Veneer Assembly, Moisture Drainage Plane, RockWool Insulation, WRB and CMU Wall
Figure 3: Cross Section of Thin Brick Veneer Assembly, Moisture Drainage Plane, RockWool Insulation, Weather Resistive Barrier and CMU Wall (Source: Holst Architecture)

The curtain wall, moisture drainage plane and weather resistive barrier work together to ensure the interior CMU wall stays dry.

DefendAir was the right choice for this project because it was able to meet a number of different performance criteria. First, there was the fact that on several elevations, Dow AllGuard had been applied. The DefendAir will both adhere to, and is compatible with AllGuard. The resistance to both air and water infiltration are excellent, and the vapor permeability is right in the sweet spot for our environment. In addition to that, DefendAir offers long term UV exposure, adding flexibility to our schedule, while the water based clean up means we can spend more time installing material instead of cleaning equipment at the end of each day. Finally, we place great value on the partnership and support we receive from both Dowsil and Atlas – they have been long term partners with Walsh in achieving high performance projects for our clients and we knew we could trust them to contribute positively to the team.

Martin Houston, Quality Director, Walsh Construction Company

DOWSIL DefendAir 200 Air and Weather Barrier For Your Next Project

Dow High Performance Building solutions include proven and innovative materials for structural and protective glazing, weatherproofing, insulating glass, high-efficiency insulation, and window and door fabrication. Experience the benefits of DOWSIL DefendAir 200 Air and Weather Barrier on your next weatherproofing project. Call Atlas Supply at 1-800-347-5767 to speak with your team of local weatherproofing experts. Refer to the DefendAir 200 Technical Data Sheet before using this product.

Citations

Randy McAdams, Senior Outside Sales, Atlas Supply

Randy McAdams, Senior Outside Sales, Atlas Supply
Randy specializes in selling waterproofing products throughout the Pacific Northwest for new construction, renovation and commercial repair projects.

Lorne Andrusiak, DowSil-Specialist, Atlas Supply

Lorne Andrusiak, DowSil-Specialist, Atlas Supply
Lorne is a Dowsil product specialist and a frequent speaker at The American Institute of Architects (AIA) Lunch & Learn events.


How To Apply MasterEmaco® T 1060 Repair Mortar

MasterEmaco T 1060 Cement-Based, Concrete Repair Mortar packaged in a 50 pound bag

Watch how to apply MasterEmaco T 1060 cement-based, concrete repair mortar (Video Transcript). Then learn more about the materials, tools and accessories required to do the job safely and efficiently.

MasterEmaco T 1060 Repair Mortar Application Video Transcript

  • Concrete must be structurally sound and fully cured. Surface should be prepared following current ICRI Guideline No. 310.2R surface preparation guide.
  • Surface to be repaired must be saturated-surface dry (SSD) with no standing water
  • Precondition material to 70 degrees Fahrenheit (21 degrees Celsius)
  • Add 5.5 pints (2.6 L) of potable water into a clean mixing container
  • Gradually sift in powder, 1/3 of the bag at a time, while mixing continuously at a slow speed
  • Mix for a minimum of 3 minutes to ensure a uniform, lump-free consistency
  • Using a stiff bristle broom, scrub a small quantity of mixed material into the SSD substrate
  • Work material firmly into the bottom and sides of patch. Avoid feather edging.
  • Placement time is approximately 5-10 minutes
  • Finish the completed repair as required
  • Cure with an approved curing compound that complies with ASTM C309 or ASTM C1315
  • Refer to the MasterEmaco T 1060 technical data guide for more information.

Repair Mortar Application Materials, Tools and Accessories

Materials, Tools and Accessories – Shown

  • Protective Gloves – 4-mil nitrile, disposable glove
  • Protective Clothing – Long-sleeve sweatshirt
  • MasterEmaco T 1060 Repair Mortar – Very rapid-setting, cement-based, concrete repair mortar
  • Mixing Container
  • Cordless Drill
  • Mixing Paddle
  • Stiff Bristle Broom
  • Beveled Hand Float
  • 2 inch x 4 inch Screed Board
  • Pool Trowel
  • Masonry Brush – 6 1/2 X 1 3/4
  • Concrete Curing Compound – ASTM C309 or ASTM C1315-compliant.

Precautionary Accessories – Not Shown

Refer to the MasterEmaco T 1060 Safety Data Sheet (SDS) for more information.

  • Eye Protection
  • Face Protection
  • Respiratory Protection – In case of inadequate ventilation.

Citations