COVID-19 Update: How Atlas Supply, a Beacon company, is staying safe and continuing to serve our customers. Click to learn more...

How To Apply MasterProtect® H 177 Sealer

MasterProtect H 177 silane/siloxane water-repellent sealer packaged in a 5 gallon pail
MasterProtect H 177 Silane/Siloxane, Water-Repellent Sealer packaged in 5 gallon pail

Watch how to apply MasterProtect H 177 high-performance, breathable, water-based, silane/siloxane water-repellent sealer (Video Transcript). Then learn more about the materials, tools and accessories required to do the job safely and efficiently.

MasterProtect H 177 Sealer Application Video Transcript

  • Mix material thoroughly before and during the application
  • Ensure substrate is structurally sound, fully cured, dry and clean
  • Open spout on top of pail, remove tab inside spout
  • Pour into low-pressure, non-atomizing sprayer
  • Flood the surface, starting at the bottom and moving up
  • Achieve a controlled rundown of 8-10 inches
  • Refer to the MasterProtect H 177 technical data guide for more information.

Sealer Application Materials, Tools and Accessories

Materials, Tools and Accessories – Shown

  • Protective Gloves – 4-mil nitrile, disposable glove
  • Protective Clothing – Long-sleeve sweatshirt
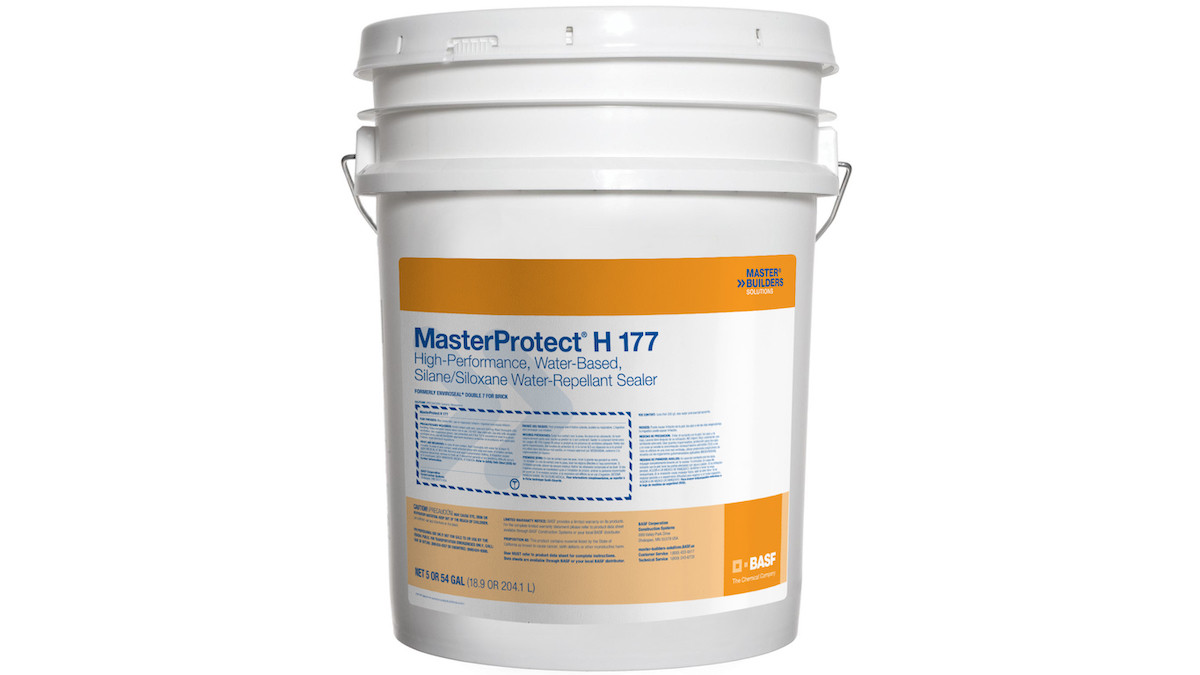
  • MasterProtect H 177 Sealer – Designed for dense, vertical masonry surfaces such as hard-burnt brick
  • Low-Pressure, Non-Atomizing Sprayer.

Precautionary Accessories – Not Shown

Refer to the MasterProtect H 177 Safety Data Sheet (SDS) for more information.

  • Eye Protection
  • Face Protection
  • Respiratory Protection – In case of inadequate ventilation.

Citations


How To Apply MasterSeal® P 173 Primer

MasterSeal P 173 Quick Drying, Solvent-Based Primer packaged in a one pint can

Watch how to apply MasterSeal P 173 quick drying solvent-based primer for Master Builders Solutions sealants (Video Transcript). Then learn more about the materials, tools and accessories required to do the job safely and efficiently.

MasterSeal P 173 Primer Application Video Transcript

  • Ensure substrate is structurally sound, fully cured, dry and clean
  • Prime joint before installing backer rod (protect adjacent surfaces from primer)
  • Open MasterSeal P 173
  • Using a brush apply a thin, uniform coat to the joint surface
  • Allow primer to dry tack-free before applying sealant
  • Sealant must be applied the same day as the primer
  • Refer to the MasterSeal P 173 technical data guide for more information.

Primer Application Materials, Tools and Accessories

Materials, Tools and Accessories – Shown

  • Protective Gloves – 4-mil nitrile, disposable glove
  • Protective Clothing – Long-sleeve sweatshirt
  • MasterSeal P 173 Primer – Quick drying, solvent-based primer for priming joints and substrates
  • Steel Can Opener
  • Brush.

Precautionary Accessories – Not Shown

Refer to the MasterSeal P 173 Safety Data Sheet (SDS) for more information.

  • Eye Protection
  • Face Protection
  • Respiratory Protection – In case of inadequate ventilation.

Citations


How To Apply MasterSeal® NP 2 Sealant

MasterSeal® NP 2 Sealant packaged in a 3.5 gallon pail
MasterSeal NP 2 Multi-Component Polyurethane Sealant in a 3.5 gallon pail

Watch how to apply MasterSeal NP 2, a multi-component, highly flexible, high performance, non-priming, polyurethane sealant (Video Transcript). Then learn more about the materials, tools and accessories required to do the job safely and efficiently.

MasterSeal NP 2 Sealant Application Video Transcript

  • Ensure substrate is structurally sound, fully cured, dry and clean
  • Use [MasterSeal P 176] primer as necessary
  • If required, install the appropriate size backer rod for the joint
  • Open the pail and remove the NP 2 activator and plastic sheet
  • Open and pour the NP 2 activator into the pail
  • Thoroughly mix for 4-6 minutes with a slow speed drill and sealant mixing paddle
  • Add MasterSeal 900 pigment into the pail
  • Continue mixing until the pigment is evenly dispersed
  • Draw sealant into caulking gun
  • Attach cone to the caulking gun
  • Cut the cone slightly smaller than the width of the joint
  • Fill joint from the deepest point, to the surface
  • Dry tool joints to create a smooth, concave shape
  • Refer to the MasterSeal NP 2 technical data guide for more information.

Sealant Application Materials, Tools and Accessories

Materials, Tools and Accessories – Shown

  • Protective Gloves – 4-mil nitrile, disposable glove
  • Protective Clothing – Long-sleeve sweatshirt
  • MasterSeal P 176 Primer – High-solids, low-VOC, solvent-based primer for priming joints and substrates
  • Brush
  • Backer Rod – Closed-cell, polyethylene foam, joint filler
  • Wooden Rod, Tapered – Used to press the backer rod completely into the joint
  • MasterSeal NP 2 Sealant, 1.5 Gallon Kit – Preferred for larger sealant applications
  • Steel Pail Opener
  • MasterSeal NP2/SL2 Activator
  • Low Speed Drill
  • Sealant Mixing Paddle
  • MasterSeal 900 Color Pack
  • Spatula – Scrape sides of color pack pigment container
  • Bulk Caulking Gun – Manual Bulk Gun
  • Bulk Caulking Gun Cone
  • Caulk Spatula – Give a smooth, concave shape to the sealed joint.

Precautionary Accessories – Not Shown

Refer to the MasterSeal NP 2 Safety Data Sheet (SDS) for more information.

  • Eye Protection
  • Face Protection
  • Respiratory Protection – In case of inadequate ventilation
  • Tool Belt.

Citations


How To Apply MasterSeal® NP 100™ Sealant

MasterSeal® NP 100™ High Performance Hybrid Sealant packaged in a 300 ml cartridge
MasterSeal NP 100 High Performance Hybrid Sealant in a 300 ml cartridge package

Watch how to apply MasterSeal NP 100, a high performance, low modulus, high movement, non-sag, fast curing, and ready-to-use hybrid sealant (Video Transcript). Then learn more about the materials, tools and accessories required to do the job safely and efficiently.


MasterSeal NP 100 Sealant Application Video Transcript

  • Ensure substrate is structurally sound, fully cured, dry and clean
  • Use [MasterSeal P 173] primer as necessary
  • If required, install the appropriate size backer rod for the joint
  • When using 300 ml cartridges, cut tip of cartridge for desired width of the sealant bead
  • Puncture foil using a sharp object
  • Insert cartridge into caulking gun
  • When using 20-ounce propaks, insert propak into a bulk caulking gun
  • Open propak with a razor knife, then attach cone to the caulking gun
  • Cut the cone slightly smaller than the width of the joint
  • Fill joint from the deepest point, to the surface
  • Dry tool joints to create a smooth, concave shape
  • Refer to the MasterSeal NP 100 technical data guide for more information.

Sealant Application Materials, Tools and Accessories

Materials, Tools and Accessories – Shown

  • Protective Gloves – 4-mil nitrile, disposable glove
  • Protective Clothing – Long-sleeve sweatshirt
  • MasterSeal P 173 Primer – Quick drying, solvent-based primer for priming joints and substrates
  • Brush
  • Backer Rod – Closed-cell, polyethylene foam, joint filler
  • Wooden Rod, Tapered – Used to press the backer rod completely into the joint
  • MasterSeal NP 100 Sealant, 300 ml Cartridge Package – Preferred for smaller sealant applications
  • Razor Knife
  • Caulking Gun – Manual Cartridge Gun
  • MasterSeal NP 100 Sealant, 20-Ounce ProPak Package – Economical and efficient for larger sealant applications
  • Bulk Caulking Gun – Manual Bulk Gun
  • Bulk Caulking Gun Cone
  • Caulk Spatula – Give a smooth, concave shape to the sealed joint.

Precautionary Accessories – Not Shown

Refer to the MasterSeal NP 100 Safety Data Sheet (SDS) for more information.

  • Eye Protection
  • Face Protection
  • Respiratory Protection – In case of inadequate ventilation
  • Tool Belt.

Citations